Pumpkin Chocolate Marble Cake

Servings: 10 · Prep: 20 min · Cook: 70 min · Total: 170 min

Ingredients

  • 1 cup Plain canned pumpkin puree
  • 1/2 cup Semisweet chocolate chips
  • 1 3/4 cups All-purpose flour
  • 2 Large eggs
  • 1 cup Granulated sugar
  • 1/2 cup Canola oil
  • 1 teaspoon Vanilla extract
  • 1 teaspoon Baking powder
  • 1/2 teaspoon Baking soda
  • 1 teaspoon Ground cinnamon
  • 1/2 teaspoon Fine salt

Equipment

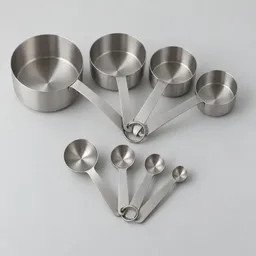
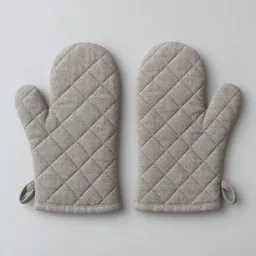
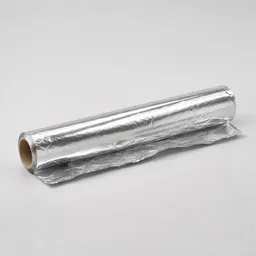
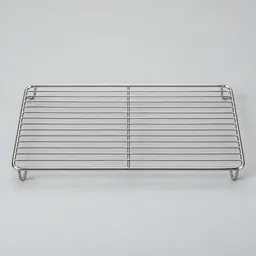
Oven; Microwave; Mixing Bowl; Whisk; Spatula; Knife; Cutting Board; Parchment paper; Butter knife; Measuring cups and spoons; Oven mitts; Aluminum foil; Cooling rack; Skewer; loaf pan; oven; microwave; mixing bowl; whisk; spatula; knife; cutting board; parchment paper; butter knife; measuring cups and spoons; oven mitts; aluminum foil; cooling rack; skewer

Steps

  1. Prepare the oven and pan. Wash your hands with soap and water and begin with clean equipment and work surfaces. Heat the oven to 350°F (175°C), with a rack in the center. Line the bottom and sides of the loaf pan with parchment paper, creasing it into the corners and leaving an overhang along the long sides for lifting out the cake.
  2. Melt and cool the chocolate. Place the chocolate chips in the microwave-safe bowl. Microwave at half power in 20-second intervals, stirring after each interval, until just melted and smooth. Set aside for about 5 minutes, until lukewarm but still fluid.
    • 1/2 cup chocolate chips

    Use caution when removing the warm bowl of melted chocolate from the microwave.

  3. Whisk the wet ingredients. In the large bowl, whisk the pumpkin puree, eggs, sugar, canola oil, and vanilla until smooth and evenly combined. Wash your hands after handling the raw eggs.
    • 1 cup pumpkin puree
    • 2 egg
    • 1 cup sugar
    • 1/2 cup canola oil
    • 1 teaspoon vanilla extract

    Wash hands after handling raw eggs.

  4. Fold in the dry ingredients. In the medium bowl, whisk together the flour, baking powder, baking soda, cinnamon, and salt. Add this mixture to the pumpkin mixture and fold with the spatula just until no dry flour remains. Avoid vigorous mixing.
    • 1 3/4 cups flour
    • 1 teaspoon baking powder
    • 1/2 teaspoon baking soda
    • 1 teaspoon cinnamon
    • 1/2 teaspoon salt

    Do not taste the raw batter; uncooked eggs and flour can carry harmful bacteria.

    Wash bowls, utensils, and work surfaces that touched raw batter before using them with the finished cake.

  5. Make the chocolate batter. Measure 1 cup of the pumpkin batter and fold it into the lukewarm melted chocolate until evenly colored. Leave the remaining pumpkin batter plain.
  6. Layer and swirl the batters. Spread half of the plain batter in the prepared pan. Spoon half of the chocolate batter over it in several dollops. Repeat with the remaining plain batter and chocolate batter. Draw the butter knife through the layers in two broad S-shaped passes, reaching close to the bottom without scraping the parchment. Stop while the colors remain clearly separate.
  7. Bake and check doneness. Bake for 60–70 minutes, beginning to check at 55 minutes. If the top is becoming too dark before the center is baked, cover loosely with foil. The cake is ready when the top springs back gently and a wooden skewer inserted deep into a pumpkin-colored section near the center comes out clean or with a few moist crumbs, but no wet batter. Check a second pumpkin-colored spot if melted chocolate makes the result unclear.

    Use oven mitts when handling the hot pan.

  8. Cool the loaf completely. Cool in the pan on the wire rack for 15 minutes. Lift out using the parchment, carefully peel the paper away from the sides, and cool on the rack for about 75 minutes more, until completely cool.

    Use oven mitts when handling the still-warm pan.

  9. Slice and serve. Transfer to the cutting board and cut into 10 slices with the serrated knife. Serve without frosting.

Notes

Use plain pumpkin puree, not sweetened, spiced pumpkin pie filling.

For a tender loaf, measure flour by spooning it into the cup and leveling it without packing. Excess flour can make the chocolate batter particularly stiff.

Once completely cool, store airtight at room temperature for up to 2 days, or refrigerate for up to 5 days. Freeze individually wrapped slices for up to 2 months for best quality.

The chocolate swirls firm as the cake cools, so waiting until it is fully cool gives cleaner slices and a more even crumb.

Cooking safety

Do not taste the raw batter; uncooked eggs and flour can contain harmful bacteria.

Wash bowls, utensils, and work surfaces that touched raw batter before using them for the finished cake.

Use oven mitts when handling the hot pan, and be cautious when removing the warm bowl of melted chocolate.

https://plumtally.com/recipes/pumpkin-chocolate-marble-cake-r9r9s30gnvno
Pumpkin Chocolate Marble Cake

Pumpkin Chocolate Marble Cake

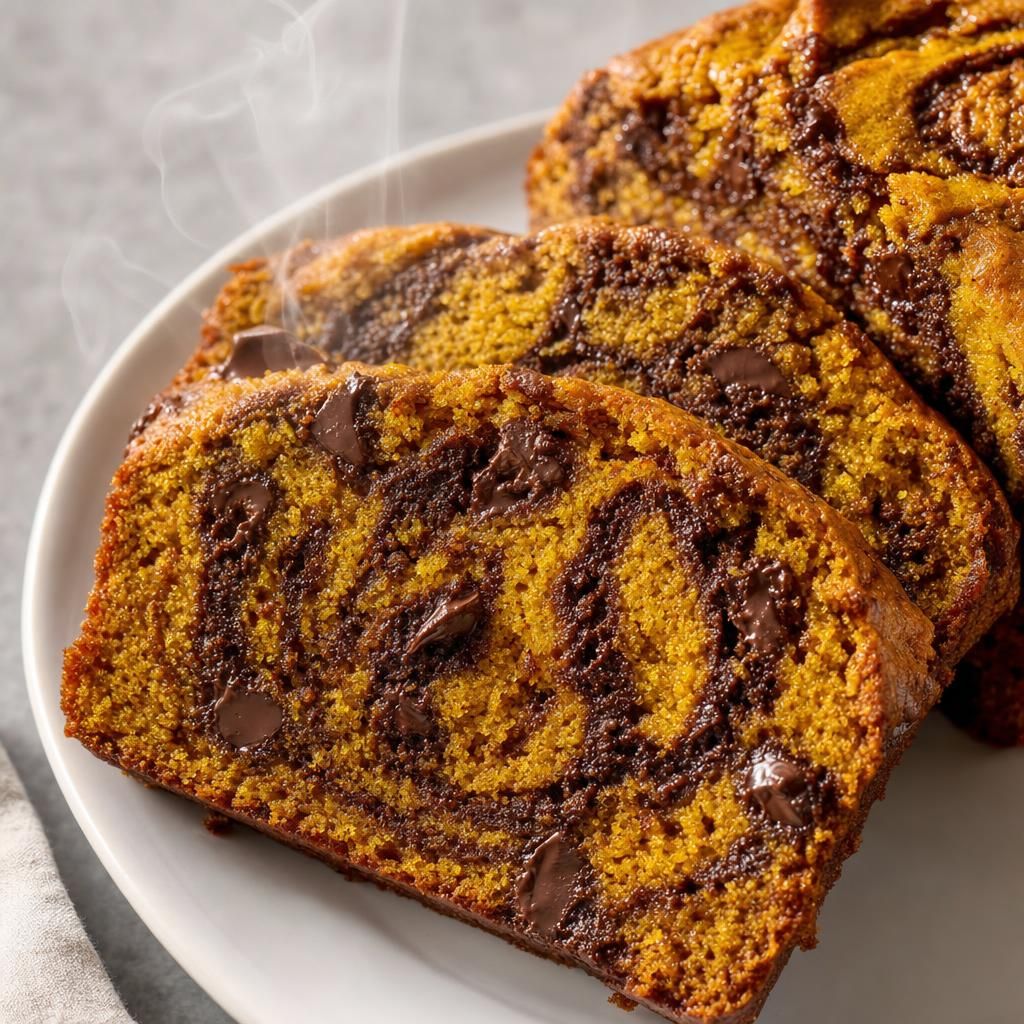
A tender pumpkin loaf with warm cinnamon and rich chocolate swirls. Made with an easy, hand-mixed batter, it needs no frosting.

Kroger

$5.47

Per Serving

$0.55

Prep

20 min

Cook

70 min

Difficulty

medium

Ingredients and shopping

Servings

$45.53

11 to buy · 0 you have

12% used in this recipe$40.06 unused

Steps

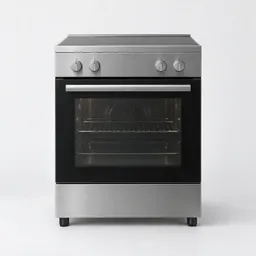
Centered freestanding kitchen oven photographed against a neutral light background.Oven
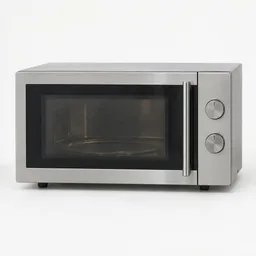
Centered unbranded countertop microwave on a neutral light background, fully visible with generous margins.Microwave
Centered stainless steel mixing bowl on a neutral light background.Mixing Bowl
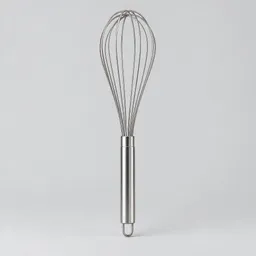
Centered stainless-steel balloon whisk on a light neutral background.Whisk
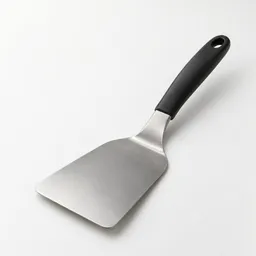
Realistic studio photograph of a plain black-handled stainless-steel kitchen spatula centered on a neutral light background.Spatula
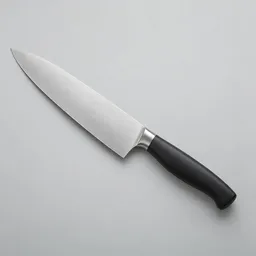
Centered studio photograph of a complete kitchen knife with a steel blade and dark handle on a light neutral background.Knife
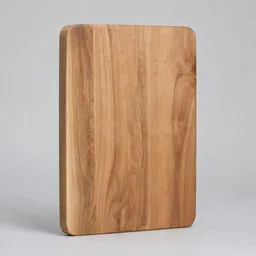
Centered rectangular wooden cutting board photographed against a plain light background.Cutting Board
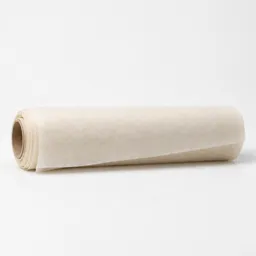
Centered studio photograph of a plain roll of off-white parchment paper on a neutral light background.Parchment paper
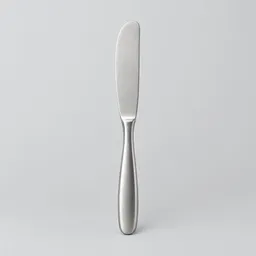
Centered studio photograph of a complete stainless steel butter knife on a neutral light background.Butter knife
Centered studio photograph of a complete unbranded stainless-steel set of measuring cups and measuring spoons on a neutral light background.Measuring cups and spoons
A centered pair of quilted gray oven mitts on a light neutral background.Oven mitts
Centered unbranded roll of aluminum foil on a light neutral background.Aluminum foil
Centered stainless steel rectangular cooling rack with raised feet on a neutral light background.Cooling rack
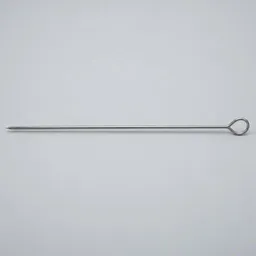
Centered stainless-steel cooking skewer with a pointed tip and looped handle on a neutral light background.Skewer
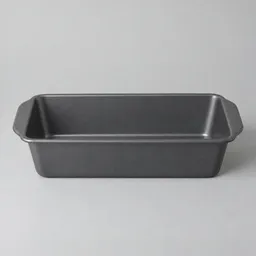
Centered empty charcoal loaf pan photographed on a light neutral background.loaf pan
1

Prepare the oven and pan

Centered freestanding kitchen oven photographed against a neutral light background.Oven
Centered studio photograph of a plain roll of off-white parchment paper on a neutral light background.Parchment paper
Centered empty charcoal loaf pan photographed on a light neutral background.loaf pan

Wash your hands with soap and water and begin with clean equipment and work surfaces. Heat the oven to 350°F (175°C), with a rack in the center. Line the bottom and sides of the loaf pan with parchment paper, creasing it into the corners and leaving an overhang along the long sides for lifting out the cake.

2

Melt and cool the chocolate

Centered unbranded countertop microwave on a neutral light background, fully visible with generous margins.Microwave
Centered stainless steel mixing bowl on a neutral light background.Mixing Bowl
Realistic studio photograph of a plain black-handled stainless-steel kitchen spatula centered on a neutral light background.Spatula

Place the chocolate chips in the microwave-safe bowl. Microwave at half power in 20-second intervals, stirring after each interval, until just melted and smooth. Set aside for about 5 minutes, until lukewarm but still fluid.

Use caution when removing the warm bowl of melted chocolate from the microwave.

3

Whisk the wet ingredients

Centered stainless steel mixing bowl on a neutral light background.Mixing Bowl
Centered stainless-steel balloon whisk on a light neutral background.Whisk

In the large bowl, whisk the pumpkin puree, eggs, sugar, canola oil, and vanilla until smooth and evenly combined. Wash your hands after handling the raw eggs.

Wash hands after handling raw eggs.

4

Fold in the dry ingredients

Centered stainless steel mixing bowl on a neutral light background.Mixing Bowl
Centered stainless-steel balloon whisk on a light neutral background.Whisk
Realistic studio photograph of a plain black-handled stainless-steel kitchen spatula centered on a neutral light background.Spatula

In the medium bowl, whisk together the flour, baking powder, baking soda, cinnamon, and salt. Add this mixture to the pumpkin mixture and fold with the spatula just until no dry flour remains. Avoid vigorous mixing.

Do not taste the raw batter; uncooked eggs and flour can carry harmful bacteria.

Wash bowls, utensils, and work surfaces that touched raw batter before using them with the finished cake.

5

Make the chocolate batter

Centered stainless steel mixing bowl on a neutral light background.Mixing Bowl
Realistic studio photograph of a plain black-handled stainless-steel kitchen spatula centered on a neutral light background.Spatula
Centered studio photograph of a complete unbranded stainless-steel set of measuring cups and measuring spoons on a neutral light background.Measuring cups and spoons

Measure 1 cup of the pumpkin batter and fold it into the lukewarm melted chocolate until evenly colored. Leave the remaining pumpkin batter plain.

6

Layer and swirl the batters

Centered stainless steel mixing bowl on a neutral light background.Mixing Bowl
Realistic studio photograph of a plain black-handled stainless-steel kitchen spatula centered on a neutral light background.Spatula
Centered studio photograph of a plain roll of off-white parchment paper on a neutral light background.Parchment paper
Centered studio photograph of a complete stainless steel butter knife on a neutral light background.Butter knife
Centered empty charcoal loaf pan photographed on a light neutral background.loaf pan

Spread half of the plain batter in the prepared pan. Spoon half of the chocolate batter over it in several dollops. Repeat with the remaining plain batter and chocolate batter. Draw the butter knife through the layers in two broad S-shaped passes, reaching close to the bottom without scraping the parchment. Stop while the colors remain clearly separate.

7

Bake and check doneness

Centered freestanding kitchen oven photographed against a neutral light background.Oven
A centered pair of quilted gray oven mitts on a light neutral background.Oven mitts
Centered unbranded roll of aluminum foil on a light neutral background.Aluminum foil
Centered stainless-steel cooking skewer with a pointed tip and looped handle on a neutral light background.Skewer
Centered empty charcoal loaf pan photographed on a light neutral background.loaf pan

Bake for 60–70 minutes, beginning to check at 55 minutes. If the top is becoming too dark before the center is baked, cover loosely with foil. The cake is ready when the top springs back gently and a wooden skewer inserted deep into a pumpkin-colored section near the center comes out clean or with a few moist crumbs, but no wet batter. Check a second pumpkin-colored spot if melted chocolate makes the result unclear.

Use oven mitts when handling the hot pan.

8

Cool the loaf completely

Centered studio photograph of a plain roll of off-white parchment paper on a neutral light background.Parchment paper
A centered pair of quilted gray oven mitts on a light neutral background.Oven mitts
Centered stainless steel rectangular cooling rack with raised feet on a neutral light background.Cooling rack
Centered empty charcoal loaf pan photographed on a light neutral background.loaf pan

Cool in the pan on the wire rack for 15 minutes. Lift out using the parchment, carefully peel the paper away from the sides, and cool on the rack for about 75 minutes more, until completely cool.

Use oven mitts when handling the still-warm pan.

9

Slice and serve

Centered studio photograph of a complete kitchen knife with a steel blade and dark handle on a light neutral background.Knife
Centered rectangular wooden cutting board photographed against a plain light background.Cutting Board

Transfer to the cutting board and cut into 10 slices with the serrated knife. Serve without frosting.

10

How did it turn out?

Rating and review tools are unavailable right now.

Make a bundle with Pumpkin Chocolate Marble Cake

Add meals that share its groceries.