Buttermilk Chicken and Waffles

Servings: 4 · Prep: 275 min · Cook: 50 min · Total: 325 min

Ingredients

  • 1 1/2 pounds Boneless skinless chicken breasts
  • 3 cups Buttermilk
  • 3 1/2 cups All-purpose flour
  • 2 each Large eggs
  • 3/4 cup Pure maple syrup
  • 4 cups Green cabbage
  • 1 cup Carrots
  • 1/4 cup Apple cider vinegar
  • 4 1/2 cups Canola oil
  • 1 tablespoon + 1/2 teaspoon Fine salt
  • 1 teaspoon Ground black pepper
  • 2 teaspoons Paprika
  • 1 teaspoon Garlic powder
  • 2 teaspoons Baking powder
  • 1/2 teaspoon Baking soda

Equipment

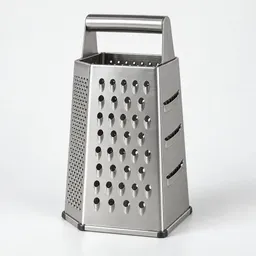
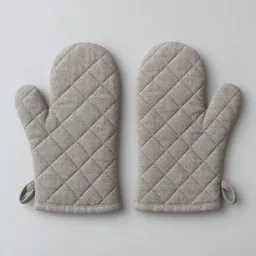
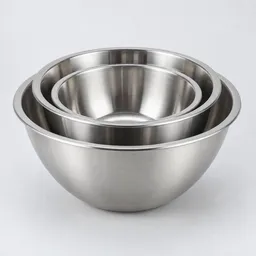
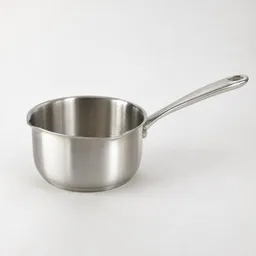
Oven; Whisk; Spatula; Measuring Cups; Measuring Spoons; Knife; Cutting Board; Tongs; Box grater; Oven mitts; Mixing bowls; Small saucepan; Pastry brush; Vegetable peeler; Plastic wrap; Large plate; Instant-read food thermometer; frying thermometer; meat mallet; Covered nonreactive container; Shallow dredging dish; 12-inch heavy skillet, at least 3 inches deep; 2 rimmed baking sheets with oven-safe wire racks; 7-inch Belgian waffle iron; 4 plates; oven; whisk; spatula; measuring cups; measuring spoons; knife; cutting board; tongs; box grater; oven mitts; mixing bowls; small saucepan; pastry brush; vegetable peeler; plastic wrap; large plate; instant-read food thermometer

Steps

  1. Prepare the chicken. Wash your hands and begin with clean utensils and work surfaces. Do not rinse the raw chicken. Place the breasts between sheets of plastic wrap and gently pound the thicker areas until each breast is approximately 1/2 inch thick.
    • 1 1/2 pounds chicken breast

    Do not rinse raw chicken; wash hands and sanitize work surfaces after handling.

  2. Marinate under refrigeration. Mix 1 cup buttermilk with 1 teaspoon salt in the covered container. Add the chicken and turn to coat. Cover and refrigerate at 40°F or below for 4 hours, turning once during marinating if convenient. The chicken may remain refrigerated in the marinade for up to 12 hours. Wash your hands and clean all equipment and surfaces that touched raw chicken.
    • 1 cup buttermilk
    • 1 teaspoon salt
    • 1 1/2 pounds chicken breast

    Keep the chicken marinating at 40°F or below and separate the raw chicken and marinade from ready-to-eat food.

  3. Prepare and chill the slaw. Shortly before cooking, prepare the slaw. Remove damaged outer cabbage leaves, rinse the cabbage and carrots under running water, and dry before slicing, peeling, and grating. Measure 4 cups sliced cabbage and 1 cup grated carrots. Whisk together the vinegar, 3 tablespoons oil, 2 tablespoons maple syrup, 1/2 teaspoon salt, and 1/4 teaspoon pepper. Toss with the vegetables and refrigerate while you cook.
    • 4 cups green cabbage — thinly sliced
    • 1 cup carrot — peeled and coarsely grated
    • 1/4 cup apple cider vinegar
    • 3 tablespoons canola oil
    • 2 tablespoons maple syrup
    • 1/2 teaspoon salt
    • 1/4 teaspoon Ground Black Pepper

    Keep the raw-chicken marinade and any utensils or surfaces that touched it away from the ready-to-eat slaw.

  4. Heat the oven and frying oil. Heat the oven to 225°F. Set a wire rack over each baking sheet, reserving one for cooked chicken and the other for waffles. Pour the 4 cups frying oil into the skillet and heat over medium heat to 350°F, monitoring it with the frying thermometer.
    • 4 cups canola oil

    Attend the heating oil, keep water away from it, and do not fill the skillet more than halfway.

  5. Coat the chicken. Combine the 1 1/2 cups coating flour, paprika, garlic powder, 1 1/2 teaspoons salt, and 3/4 teaspoon pepper in the shallow dish. Drizzle 2 tablespoons of the chicken’s marinade into this mixture and rub it through with your fingertips to form small, shaggy crumbs. Lift each breast from the marinade, let excess liquid drip off, and press firmly into the flour mixture on both sides. Place on the large plate and let the coating settle for 10 minutes. Discard the remaining marinade and coating mixture, then wash your hands.
    • 1 1/2 cups all-purpose flour
    • 2 teaspoons paprika
    • 1 teaspoon garlic powder
    • 1 1/2 teaspoons salt
    • 3/4 teaspoon Ground Black Pepper

    Discard the marinade and coating mixture that contacted raw chicken, then wash hands and clean contaminated equipment and surfaces.

  6. Prepare the waffle mixtures separately. While the coating rests, prepare the waffle mixtures without combining them yet. In one bowl, whisk the remaining 2 cups flour with the baking powder, baking soda, and 1/2 teaspoon salt. In another bowl, whisk the eggs, remaining 2 cups buttermilk, 1/4 cup oil, and 2 tablespoons maple syrup. Refrigerate the wet mixture until the chicken is fried.
    • 2 cups all-purpose flour
    • 2 teaspoons baking powder
    • 1/2 teaspoon baking soda
    • 1/2 teaspoon salt
    • 2 Each egg
    • 2 cups buttermilk
    • 1/4 cup canola oil
    • 2 tablespoons maple syrup
  7. Fry the chicken and keep it hot. Carefully lower 2 chicken breasts into the hot oil without crowding them. Fry for approximately 8–10 minutes, turning halfway through, until deeply golden and crisp. Adjust the heat to keep the oil between 325°F and 350°F. Check each breast with a clean instant-read thermometer inserted sideways into its thickest part; it must reach 165°F (74°C). Transfer the cooked chicken with clean tongs to its wire rack and place in the oven, uncovered. Return the oil to 350°F and repeat with the remaining chicken. Keep the cooked pieces separate rather than stacked, and hold them at 140°F or above.
    • 4 Each chicken breast

    Lower chicken carefully into attended hot oil and keep water away from it.

    Verify that every breast reaches 165°F; clean the thermometer probe before and after checking.

  8. Mix the waffle batter. Preheat the waffle iron. Whisk the refrigerated wet mixture briefly, then stir it into the dry mixture just until no dry flour remains; small lumps are fine. Avoid beating the batter smooth.

    Do not taste raw waffle batter; uncooked flour and raw eggs can carry harmful bacteria.

  9. Cook the waffles and keep them crisp. Lightly brush the waffle plates with some of the measured 1 tablespoon oil, reserving the rest for subsequent batches. Add the manufacturer’s recommended amount of batter and cook until the waffle is golden, crisp, and cooked through, usually 4–6 minutes. Transfer to the second wire rack in the oven. Repeat with all the batter, keeping the waffles in a single layer. Do not cover them, which traps steam and softens the crust.
    • 1 tablespoon canola oil

    Avoid touching the heated waffle plates and use oven mitts when moving hot racks.

  10. Warm the syrup and finish the slaw. Warm the remaining 1/2 cup maple syrup in the small saucepan over low heat without boiling. Toss the slaw again and lift it from any dressing collected in the bottom of the bowl.
    • 1/2 cup maple syrup
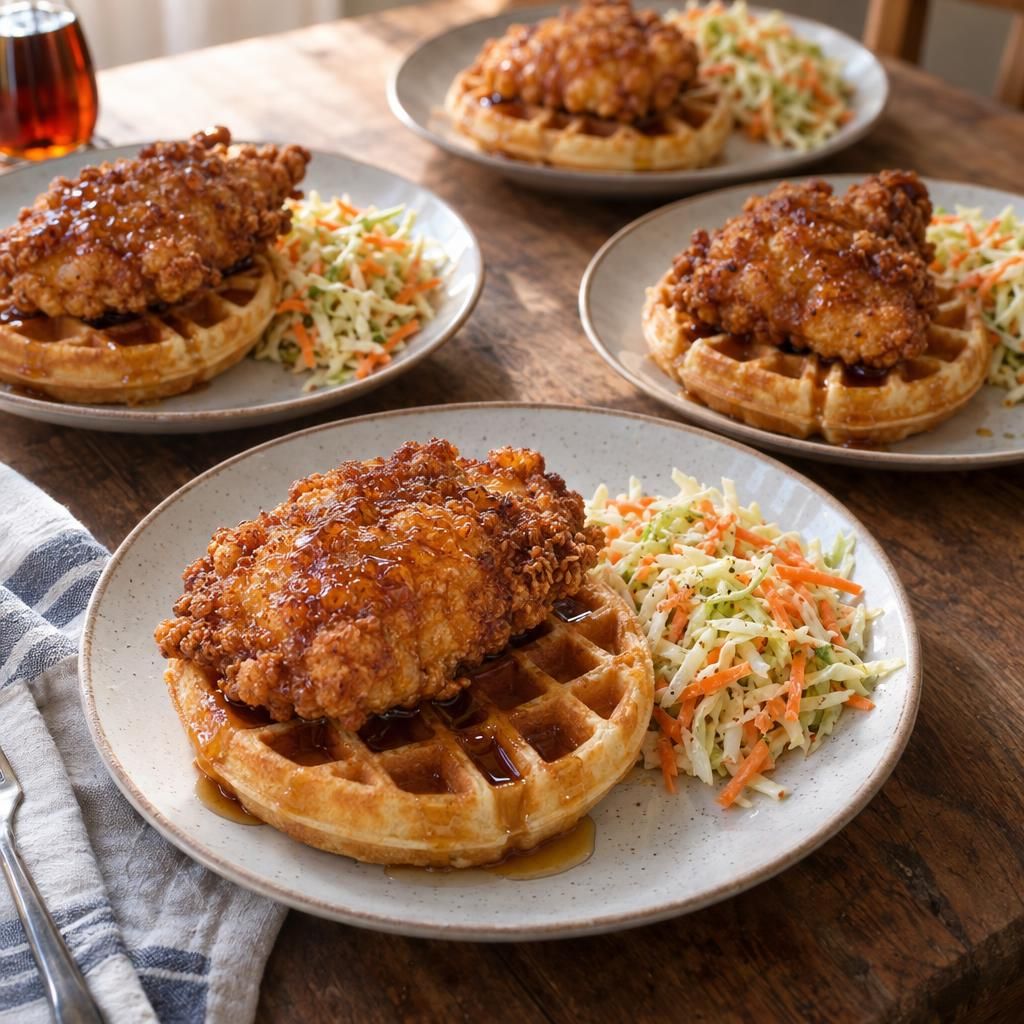
  11. Assemble and serve. Divide all the waffles among 4 plates and place 1 chicken breast on each portion. Divide the warmed syrup among all four servings, allowing 2 tablespoons per serving. Serve the slaw alongside rather than on the waffles to preserve their crispness. Serve immediately.

Notes

Serving yield: 4 main-course servings, each with 1 fried chicken breast, one-quarter of the waffles, approximately 1 cup slaw, and 2 tablespoons maple syrup.

For the shortest holding time, have a second cook make the waffles while you fry the chicken. Keep finished food on separate wire racks in the warm oven.

Refrigerate leftover chicken, waffles, and slaw in separate covered containers within 2 hours of cooking, or within 1 hour when the surrounding temperature exceeds 90°F. Keep the refrigerator at 40°F or below and use the cooked chicken within 3–4 days. Reheat chicken to 165°F; the slaw is crispest on the day it is made.

Cooking safety

Keep raw chicken, its marinade, and its coating away from the slaw and cooked food. Wash the thermometer probe before and after checking chicken.

Do not taste raw waffle batter; both raw eggs and uncooked flour can carry harmful bacteria.

Keep the frying skillet attended, keep water away from hot oil, and never fill the skillet more than halfway with oil. Let the oil cool completely before handling it for disposal.

https://plumtally.com/recipes/buttermilk-chicken-and-waffles-rejovjcqmpt9
Buttermilk Chicken and Waffles

Buttermilk Chicken and Waffles

Crisp, seasoned buttermilk-fried chicken breasts sit over tender homemade buttermilk waffles, finished with maple syrup. Tangy cabbage and carrot slaw adds a cool, crunchy contrast.

  • comfort food
  • fried chicken
  • meat
  • southern american
  • sweet-savory

$22.85

Per Serving

$5.71

Prep

275 min

Cook

50 min

Difficulty

hard

Ingredients and shopping

Servings

$45.79

14 to buy · 1 you have

50% used in this recipe$22.94 unused

Steps

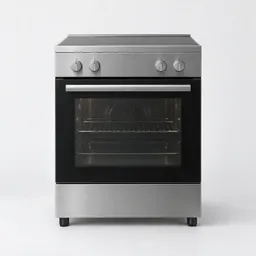
Centered freestanding kitchen oven photographed against a neutral light background.Oven
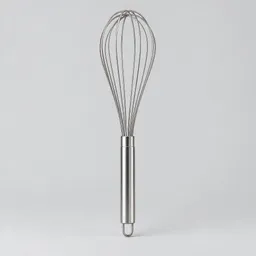
Centered stainless-steel balloon whisk on a light neutral background.Whisk
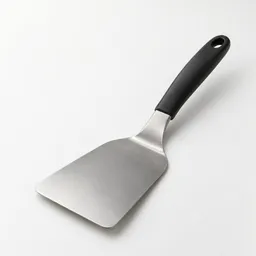
Realistic studio photograph of a plain black-handled stainless-steel kitchen spatula centered on a neutral light background.Spatula
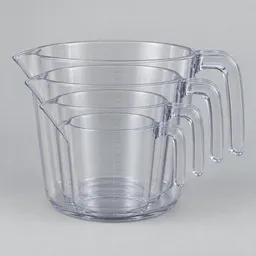
Centered nested set of four clear measuring cups with handles on a neutral light background.Measuring Cups
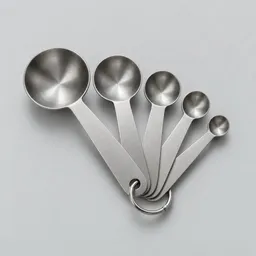
Centered studio photograph of a set of stainless steel measuring spoons on a pale neutral background.Measuring Spoons
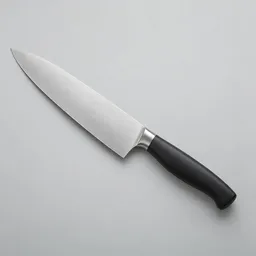
Centered studio photograph of a complete kitchen knife with a steel blade and dark handle on a light neutral background.Knife
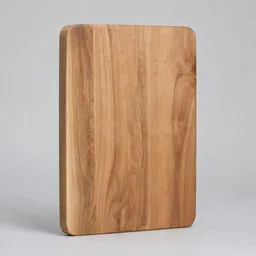
Centered rectangular wooden cutting board photographed against a plain light background.Cutting Board
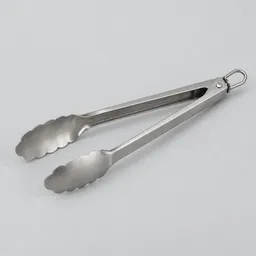
Centered pair of stainless-steel kitchen tongs on a light neutral background.Tongs
Centered stainless-steel box grater photographed upright on a neutral light background.Box grater
A centered pair of quilted gray oven mitts on a light neutral background.Oven mitts
Centered set of three nested stainless-steel mixing bowls on a light neutral background.Mixing bowls
Small stainless-steel saucepan with one long handle, centered on a light neutral background.Small saucepan
A single unbranded pastry brush with a pale wooden handle, metal ferrule, and soft bristles, centered on a light neutral background.Pastry brush
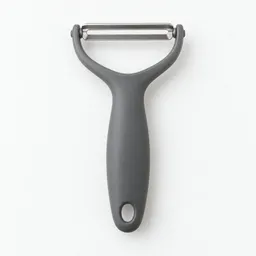
Centered studio photograph of a single vegetable peeler on a neutral light background.Vegetable peeler
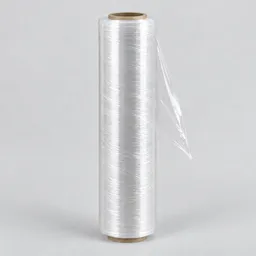
Centered studio photograph of a plain roll of transparent plastic wrap on a light neutral background.Plastic wrap
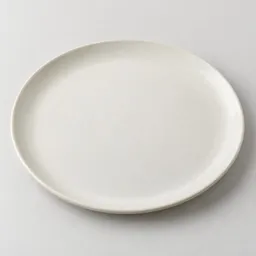
Centered large off-white ceramic dinner plate photographed against a neutral light background.Large plate
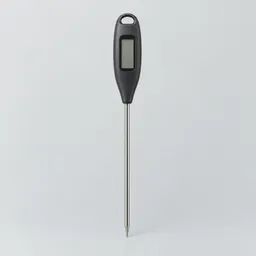
Unbranded instant-read food thermometer with a stainless-steel probe and dark handle, centered on a neutral light background.Instant-read food thermometer
Centered frying thermometer with a long stainless-steel probe, round unmarked gauge, and pot clip on a neutral light background.frying thermometer
Centered meat mallet with a dual-sided metal head and dark wood handle on a neutral light background.meat mallet
Covered nonreactive container
Shallow dredging dish
12-inch heavy skillet, at least 3 inches deep
2 rimmed baking sheets with oven-safe wire racks
7-inch Belgian waffle iron
4 plates
1

Prepare the chicken

Centered rectangular wooden cutting board photographed against a plain light background.Cutting Board
Centered studio photograph of a plain roll of transparent plastic wrap on a light neutral background.Plastic wrap
Centered meat mallet with a dual-sided metal head and dark wood handle on a neutral light background.meat mallet

Wash your hands and begin with clean utensils and work surfaces. Do not rinse the raw chicken. Place the breasts between sheets of plastic wrap and gently pound the thicker areas until each breast is approximately 1/2 inch thick.

Do not rinse raw chicken; wash hands and sanitize work surfaces after handling.

2

Marinate under refrigeration

Centered nested set of four clear measuring cups with handles on a neutral light background.Measuring Cups
Centered studio photograph of a set of stainless steel measuring spoons on a pale neutral background.Measuring Spoons
Covered nonreactive container

Mix 1 cup buttermilk with 1 teaspoon salt in the covered container. Add the chicken and turn to coat. Cover and refrigerate at 40°F or below for 4 hours, turning once during marinating if convenient. The chicken may remain refrigerated in the marinade for up to 12 hours. Wash your hands and clean all equipment and surfaces that touched raw chicken.

Keep the chicken marinating at 40°F or below and separate the raw chicken and marinade from ready-to-eat food.

3

Prepare and chill the slaw

Centered stainless-steel balloon whisk on a light neutral background.Whisk
Realistic studio photograph of a plain black-handled stainless-steel kitchen spatula centered on a neutral light background.Spatula
Centered nested set of four clear measuring cups with handles on a neutral light background.Measuring Cups
Centered studio photograph of a set of stainless steel measuring spoons on a pale neutral background.Measuring Spoons
Centered studio photograph of a complete kitchen knife with a steel blade and dark handle on a light neutral background.Knife
Centered rectangular wooden cutting board photographed against a plain light background.Cutting Board
Centered stainless-steel box grater photographed upright on a neutral light background.Box grater
Centered set of three nested stainless-steel mixing bowls on a light neutral background.Mixing bowls
Centered studio photograph of a single vegetable peeler on a neutral light background.Vegetable peeler

Shortly before cooking, prepare the slaw. Remove damaged outer cabbage leaves, rinse the cabbage and carrots under running water, and dry before slicing, peeling, and grating. Measure 4 cups sliced cabbage and 1 cup grated carrots. Whisk together the vinegar, 3 tablespoons oil, 2 tablespoons maple syrup, 1/2 teaspoon salt, and 1/4 teaspoon pepper. Toss with the vegetables and refrigerate while you cook.

Keep the raw-chicken marinade and any utensils or surfaces that touched it away from the ready-to-eat slaw.

4

Heat the oven and frying oil

Centered freestanding kitchen oven photographed against a neutral light background.Oven
Centered nested set of four clear measuring cups with handles on a neutral light background.Measuring Cups
Centered frying thermometer with a long stainless-steel probe, round unmarked gauge, and pot clip on a neutral light background.frying thermometer
12-inch heavy skillet, at least 3 inches deep
2 rimmed baking sheets with oven-safe wire racks

Heat the oven to 225°F. Set a wire rack over each baking sheet, reserving one for cooked chicken and the other for waffles. Pour the 4 cups frying oil into the skillet and heat over medium heat to 350°F, monitoring it with the frying thermometer.

Attend the heating oil, keep water away from it, and do not fill the skillet more than halfway.

5

Coat the chicken

Centered nested set of four clear measuring cups with handles on a neutral light background.Measuring Cups
Centered studio photograph of a set of stainless steel measuring spoons on a pale neutral background.Measuring Spoons
Centered large off-white ceramic dinner plate photographed against a neutral light background.Large plate
Shallow dredging dish

Combine the 1 1/2 cups coating flour, paprika, garlic powder, 1 1/2 teaspoons salt, and 3/4 teaspoon pepper in the shallow dish. Drizzle 2 tablespoons of the chicken’s marinade into this mixture and rub it through with your fingertips to form small, shaggy crumbs. Lift each breast from the marinade, let excess liquid drip off, and press firmly into the flour mixture on both sides. Place on the large plate and let the coating settle for 10 minutes. Discard the remaining marinade and coating mixture, then wash your hands.

Discard the marinade and coating mixture that contacted raw chicken, then wash hands and clean contaminated equipment and surfaces.

6

Prepare the waffle mixtures separately

Centered stainless-steel balloon whisk on a light neutral background.Whisk
Centered nested set of four clear measuring cups with handles on a neutral light background.Measuring Cups
Centered studio photograph of a set of stainless steel measuring spoons on a pale neutral background.Measuring Spoons
Centered set of three nested stainless-steel mixing bowls on a light neutral background.Mixing bowls

While the coating rests, prepare the waffle mixtures without combining them yet. In one bowl, whisk the remaining 2 cups flour with the baking powder, baking soda, and 1/2 teaspoon salt. In another bowl, whisk the eggs, remaining 2 cups buttermilk, 1/4 cup oil, and 2 tablespoons maple syrup. Refrigerate the wet mixture until the chicken is fried.

7

Fry the chicken and keep it hot

Centered freestanding kitchen oven photographed against a neutral light background.Oven
Centered pair of stainless-steel kitchen tongs on a light neutral background.Tongs
A centered pair of quilted gray oven mitts on a light neutral background.Oven mitts
Unbranded instant-read food thermometer with a stainless-steel probe and dark handle, centered on a neutral light background.Instant-read food thermometer
Centered frying thermometer with a long stainless-steel probe, round unmarked gauge, and pot clip on a neutral light background.frying thermometer
12-inch heavy skillet, at least 3 inches deep
2 rimmed baking sheets with oven-safe wire racks

Carefully lower 2 chicken breasts into the hot oil without crowding them. Fry for approximately 8–10 minutes, turning halfway through, until deeply golden and crisp. Adjust the heat to keep the oil between 325°F and 350°F. Check each breast with a clean instant-read thermometer inserted sideways into its thickest part; it must reach 165°F (74°C). Transfer the cooked chicken with clean tongs to its wire rack and place in the oven, uncovered. Return the oil to 350°F and repeat with the remaining chicken. Keep the cooked pieces separate rather than stacked, and hold them at 140°F or above.

Lower chicken carefully into attended hot oil and keep water away from it.

Verify that every breast reaches 165°F; clean the thermometer probe before and after checking.

8

Mix the waffle batter

Centered stainless-steel balloon whisk on a light neutral background.Whisk
Realistic studio photograph of a plain black-handled stainless-steel kitchen spatula centered on a neutral light background.Spatula
Centered set of three nested stainless-steel mixing bowls on a light neutral background.Mixing bowls
7-inch Belgian waffle iron

Preheat the waffle iron. Whisk the refrigerated wet mixture briefly, then stir it into the dry mixture just until no dry flour remains; small lumps are fine. Avoid beating the batter smooth.

Do not taste raw waffle batter; uncooked flour and raw eggs can carry harmful bacteria.

9

Cook the waffles and keep them crisp

Centered freestanding kitchen oven photographed against a neutral light background.Oven
Realistic studio photograph of a plain black-handled stainless-steel kitchen spatula centered on a neutral light background.Spatula
A centered pair of quilted gray oven mitts on a light neutral background.Oven mitts
A single unbranded pastry brush with a pale wooden handle, metal ferrule, and soft bristles, centered on a light neutral background.Pastry brush
2 rimmed baking sheets with oven-safe wire racks
7-inch Belgian waffle iron

Lightly brush the waffle plates with some of the measured 1 tablespoon oil, reserving the rest for subsequent batches. Add the manufacturer’s recommended amount of batter and cook until the waffle is golden, crisp, and cooked through, usually 4–6 minutes. Transfer to the second wire rack in the oven. Repeat with all the batter, keeping the waffles in a single layer. Do not cover them, which traps steam and softens the crust.

Avoid touching the heated waffle plates and use oven mitts when moving hot racks.

10

Warm the syrup and finish the slaw

Realistic studio photograph of a plain black-handled stainless-steel kitchen spatula centered on a neutral light background.Spatula
Centered nested set of four clear measuring cups with handles on a neutral light background.Measuring Cups
Centered set of three nested stainless-steel mixing bowls on a light neutral background.Mixing bowls
Small stainless-steel saucepan with one long handle, centered on a light neutral background.Small saucepan

Warm the remaining 1/2 cup maple syrup in the small saucepan over low heat without boiling. Toss the slaw again and lift it from any dressing collected in the bottom of the bowl.

11

Assemble and serve

4 plates

Divide all the waffles among 4 plates and place 1 chicken breast on each portion. Divide the warmed syrup among all four servings, allowing 2 tablespoons per serving. Serve the slaw alongside rather than on the waffles to preserve their crispness. Serve immediately.

12

How did it turn out?

Rating and review tools are unavailable right now.

Recipe facts

Cuisine
Southern American

Make a bundle with Buttermilk Chicken and Waffles

Add meals that share its groceries.