Chicken Kyiv with Mash and Peas

Servings: 4 · Prep: 55 min · Cook: 45 min · Total: 140 min

Ingredients

  • 4 each Boneless skinless chicken breasts
  • 3/4 cup + 2 tablespoons Unsalted butter
  • 3 cloves Garlic
  • 2 tablespoons Flat-leaf parsley
  • 2 pounds Russet potatoes
  • 2 cups Frozen green peas
  • 1/2 cup All-purpose flour
  • 3 each Large eggs
  • 2 cups Plain breadcrumbs
  • 2 cups Canola oil
  • 3/4 cup Whole milk
  • 1 tablespoon Fine salt
  • 1/2 teaspoon Ground black pepper
  • 10 cups Water

Equipment

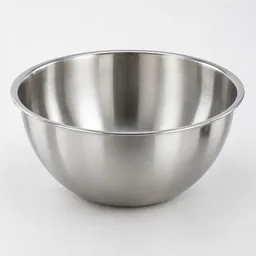
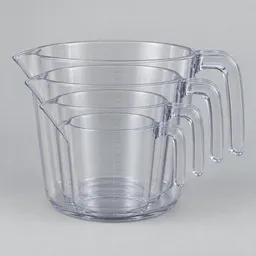
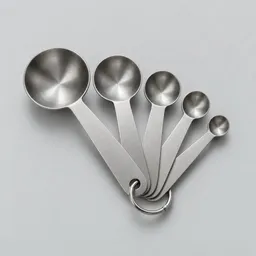
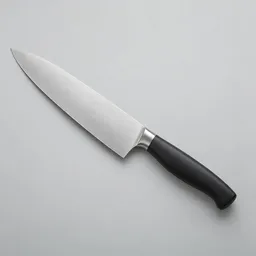
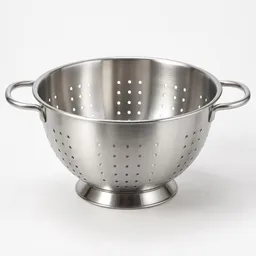
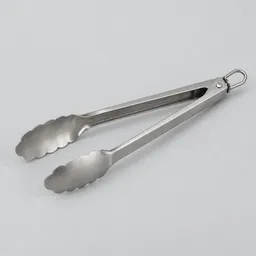
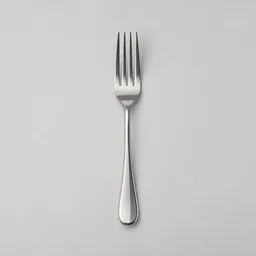
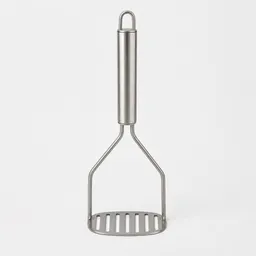
Mixing Bowl; Measuring Cups; Measuring Spoons; Knife; Colander; Tongs; Fork; Potato masher; Vegetable peeler; Plastic wrap; Instant-read food thermometer; Cutting boards; 2-quart saucepan with lid; 4-quart saucepan with lid; Smooth-faced meat mallet; Tray for chilling; 3 shallow breading dishes; 12-inch deep, heavy skillet; Oil thermometer; Rimmed baking sheet with oven-safe rack; mixing bowl; measuring cups; measuring spoons; knife; colander; tongs; fork; potato masher; vegetable peeler; plastic wrap; instant-read food thermometer; cutting boards

Steps

  1. Prepare safely and wash the produce. Wash your hands with soap and water for at least 20 seconds. Rinse the parsley and scrub the potatoes under running water, removing damaged areas, then dry them. Prepare the garlic and parsley before handling the chicken. Do not rinse raw chicken. ([fda.gov](https://www.fda.gov/media/154050/download))
    • 2 tablespoons flat-leaf parsley — finely chopped
    • 2 pounds russet potato
    • 3 Each garlic — finely minced

    Do not rinse raw chicken; wash hands before food preparation.

  2. Shape and freeze the garlic-parsley butter. Mix the 8 tablespoons softened butter with the garlic, parsley, and 1/4 teaspoon salt. Divide into four equal portions. Shape each portion into a compact, approximately 3-inch-long baton and wrap in plastic wrap. Freeze for 20 minutes, until firm enough to handle without bending.
    • 1/2 cup butter
    • 3 Each garlic — finely minced
    • 2 tablespoons flat-leaf parsley — finely chopped
    • 1/4 teaspoon salt
  3. Butterfly and pound the chicken. Meanwhile, butterfly each chicken breast: slice horizontally through its thick side, stopping before cutting through the opposite edge, then open it like a book. Place between sheets of plastic wrap and gently pound with the smooth face of the mallet to an even 1/4-inch thickness. Work gradually toward the edges without tearing the meat. Season all four breasts with the allocated 3/4 teaspoon salt and 1/4 teaspoon pepper.
    • 4 Each chicken breast
    • 3/4 teaspoon salt
    • 1/4 teaspoon Ground Black Pepper

    Keep raw chicken and its utensils separate from ready-to-eat food; wash and sanitize after handling.

  4. Enclose the butter and chill. Place a breast with a short edge facing you. Unwrap one butter baton and set it crosswise about 1 1/2 inches from that edge. Fold the sides inward over the ends of the butter, fold the nearest edge over it, and roll tightly away from you. Keep the ends tucked in and overlap the final seam generously so the butter is completely enclosed. Repeat with the remaining breasts. Wrap each parcel tightly in fresh plastic wrap and refrigerate seam-side down for 30 minutes.
    • 4 Each chicken breast

    Keep the raw chicken parcels cold and refrigerate them promptly.

  5. Prepare the potatoes and oven. During this chilling period, clean the work surface and utensils used for raw chicken. Peel the potatoes and cut them into 1-inch pieces. Put them in the 4-quart saucepan with 8 cups water and 1 teaspoon salt; leave the heat off for now. Heat the oven to 400°F (200°C), with a rack in the middle, and set the oven-safe rack on the baking sheet.
    • 2 pounds russet potato
    • 8 cups Water
    • 1 teaspoon salt

    Clean and sanitize surfaces and utensils used for raw chicken before preparing the potatoes.

  6. Double-bread and chill the chicken. Put the flour, beaten eggs, and breadcrumbs in separate shallow dishes. Unwrap the chicken and check every seam; refold any loose edge so no butter is exposed. Coat each parcel lightly with flour, shaking off excess, then dip in egg and coat with breadcrumbs. Dip once more in egg and breadcrumbs, pressing gently around the seams and ends. Place on the chilling tray and refrigerate for 15 minutes. Discard the unused breading ingredients that have contacted raw chicken.
    • 1/2 cup all-purpose flour
    • 3 Each egg — beaten
    • 2 cups plain breadcrumbs

    Discard breading that has contacted raw chicken; keep it away from cooked sides.

  7. Heat the oil and simmer the potatoes. Near the end of the chilling period, heat the canola oil in the skillet over medium heat to 350°F. Bring the potatoes and their water to a boil, then reduce the heat and simmer for 15–20 minutes, until the pieces break easily when pressed with a fork.
    • 2 cups canola oil

    Monitor the heating oil with the thermometer; hot oil can cause burns.

  8. Fry the chicken until golden. Carefully lower two chicken parcels into the oil, seam-side down. Fry for 6–8 minutes per batch, turning gently with tongs until golden on all sides. Maintain the oil between 325°F and 350°F, adjusting the heat as necessary. Transfer each browned parcel to the prepared baking rack, seam-side down, and repeat with the remaining chicken. Do not pierce the parcels while turning them.
    • 4 Each chicken breast

    Lower the parcels gently to reduce hot-oil splashes.

  9. Bake to a safe internal temperature. Once all four parcels are browned, transfer the baking sheet to the oven. Bake for approximately 18–25 minutes, until each portion reaches 165°F (74°C). Insert the thermometer from the side into the thickest chicken portion, keeping the tip in the meat rather than the butter cavity. Check each parcel individually; browning alone does not establish doneness. ([foodsafety.gov](https://www.foodsafety.gov/food-safety-charts/safe-minimum-internal-temperatures))

    Check each parcel individually for 165°F in the chicken, not the butter cavity; clean the thermometer before and after use.

  10. Mash the potatoes. While the chicken bakes, warm the milk gently in the small saucepan without boiling. Drain the tender potatoes thoroughly, return them to their saucepan, and stir over low heat for 1 minute to evaporate excess moisture. Remove from the heat and mash with 4 tablespoons butter. Gradually work in the warm milk, then add 3/4 teaspoon salt and the remaining 1/4 teaspoon pepper. Cover to keep warm while the chicken finishes.
    • 3/4 cup milk
    • 1/4 cup butter
    • 3/4 teaspoon salt
    • 1/4 teaspoon Ground Black Pepper
  11. Cook and butter the peas. During the last 10 minutes of baking, rinse the small saucepan and add the remaining 2 cups water. Bring to a boil, add the frozen peas, and return to a simmer. Cook for 3–5 minutes, until tender and hot throughout. Drain thoroughly, return to the saucepan, and stir in the remaining 2 tablespoons butter and 1/4 teaspoon salt. Cover briefly until serving.
    • 2 cups Water
    • 2 cups green peas
    • 2 tablespoons butter
    • 1/4 teaspoon salt
  12. Rest and serve. Rest the cooked chicken uncovered on its rack for 5 minutes. Divide the mash and peas equally among four plates and place one whole chicken Kyiv on each. Serve immediately, taking care when cutting into the hot butter filling.

    The butter filling will be very hot; cut carefully to avoid burns.

Notes

Serving yield: 4 main-course servings, each with 1 stuffed chicken breast, one-quarter of the mashed potatoes, and approximately 1/2 cup cooked peas.

Keep the filling firm and the chicken cold during shaping. Breading reinforces a closed parcel but cannot reliably seal an opening with exposed butter.

Refrigerate leftovers in shallow, covered containers within 2 hours of cooking, within 1 hour when the surrounding temperature exceeds 90°F. Store at 40°F or below and use within 3–4 days. ([fda.gov](https://www.fda.gov/media/154050/download))

Reheat leftovers to 165°F (74°C). Reheating the chicken in the oven rather than the microwave will help preserve its crisp coating. ([foodsafety.gov](https://www.foodsafety.gov/food-safety-charts/safe-minimum-internal-temperatures))

Cooking safety

Keep raw chicken, eggs, and used breading away from the cooked side dishes. Wash hands, utensils, and work surfaces after handling them, and use clean tongs for the finished chicken. ([fda.gov](https://www.fda.gov/media/154050/download))

Clean the food thermometer before and after checking the chicken. Every parcel must reach 165°F (74°C) in the chicken itself before resting and serving. ([fda.gov](https://www.fda.gov/media/154050/download))

Lower the chicken gently into the oil to limit splashing. Let the frying oil cool completely before moving or disposing of it.

https://plumtally.com/recipes/chicken-kyiv-with-mash-and-peas-rw3m1rzeubcn
Chicken Kyiv with Mash and Peas

Chicken Kyiv with Mash and Peas

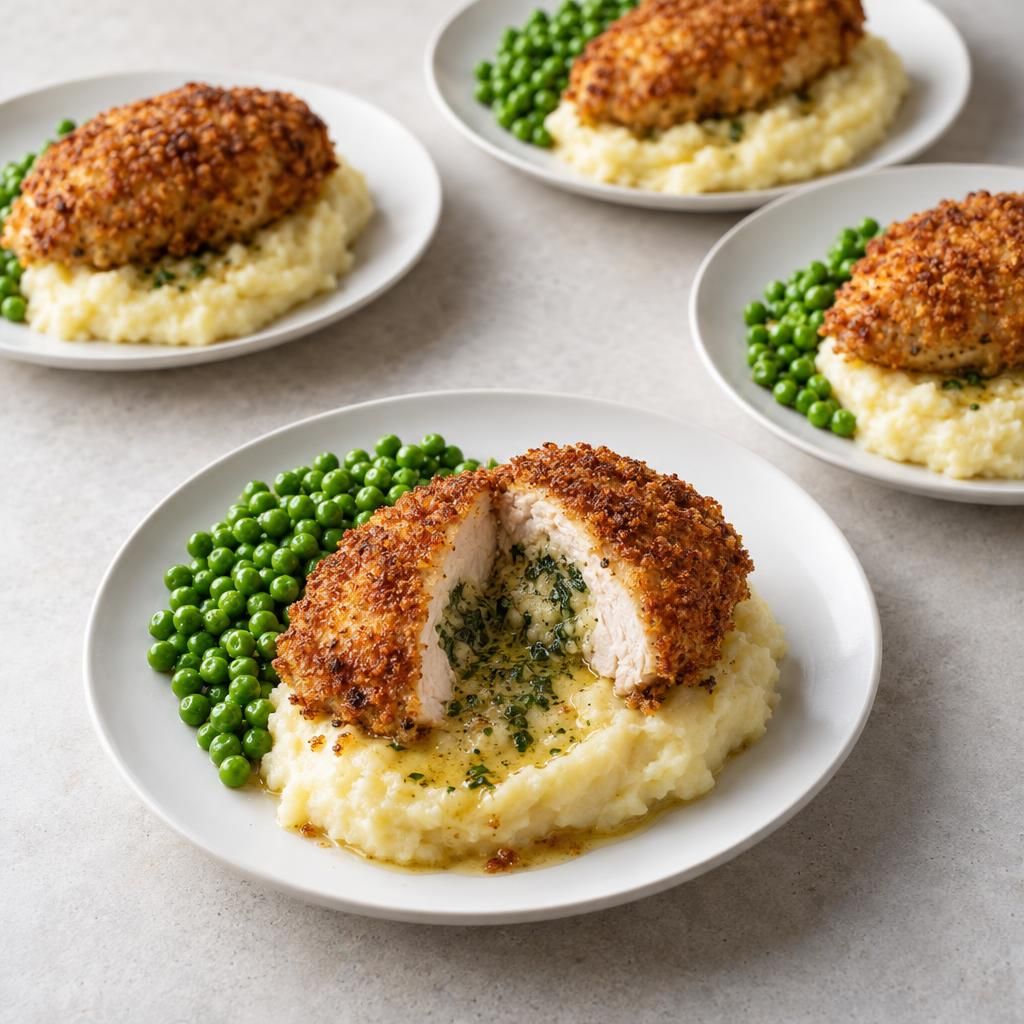
Golden, crisp chicken breasts filled with garlic-parsley butter, served with creamy mashed russet potatoes and buttery green peas.

  • chicken kyiv
  • comfort food
  • crispy
  • meat
  • stuffed chicken

$20.37

Per Serving

$5.09

Prep

55 min

Cook

45 min

Difficulty

hard

Ingredients and shopping

Servings

$34.12

12 to buy · 1 you have

60% used in this recipe$13.75 unused

Steps

Centered stainless steel mixing bowl on a neutral light background.Mixing Bowl
Centered nested set of four clear measuring cups with handles on a neutral light background.Measuring Cups
Centered studio photograph of a set of stainless steel measuring spoons on a pale neutral background.Measuring Spoons
Centered studio photograph of a complete kitchen knife with a steel blade and dark handle on a light neutral background.Knife
Centered stainless-steel kitchen colander on a light neutral background.Colander
Centered pair of stainless-steel kitchen tongs on a light neutral background.Tongs
Centered stainless-steel fork on a neutral light-gray background.Fork
Centered stainless-steel potato masher photographed against a plain light neutral background.Potato masher
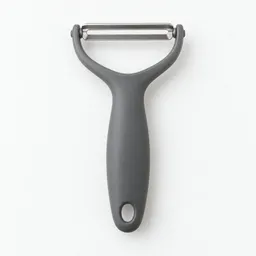
Centered studio photograph of a single vegetable peeler on a neutral light background.Vegetable peeler
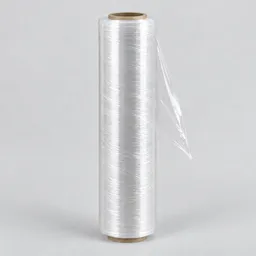
Centered studio photograph of a plain roll of transparent plastic wrap on a light neutral background.Plastic wrap
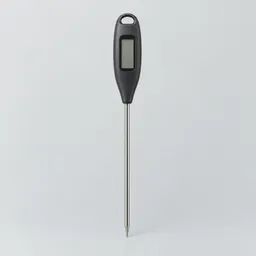
Unbranded instant-read food thermometer with a stainless-steel probe and dark handle, centered on a neutral light background.Instant-read food thermometer
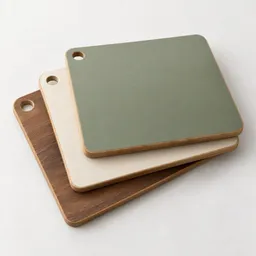
A centered stack of three plain rectangular cutting boards on a light neutral background.Cutting boards
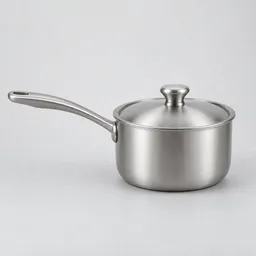
Centered 2-quart stainless-steel saucepan with matching lid on a neutral light background.2-quart saucepan with lid
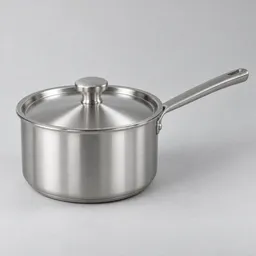
Centered 4-quart stainless-steel saucepan with fitted lid and long handle on a neutral light background.4-quart saucepan with lid
Smooth-faced meat mallet
Tray for chilling
3 shallow breading dishes
12-inch deep, heavy skillet
Oil thermometer
Rimmed baking sheet with oven-safe rack
1

Prepare safely and wash the produce

Centered studio photograph of a complete kitchen knife with a steel blade and dark handle on a light neutral background.Knife
A centered stack of three plain rectangular cutting boards on a light neutral background.Cutting boards

Wash your hands with soap and water for at least 20 seconds. Rinse the parsley and scrub the potatoes under running water, removing damaged areas, then dry them. Prepare the garlic and parsley before handling the chicken. Do not rinse raw chicken. ([fda.gov](https://www.fda.gov/media/154050/download))

Do not rinse raw chicken; wash hands before food preparation.

2

Shape and freeze the garlic-parsley butter

Centered stainless steel mixing bowl on a neutral light background.Mixing Bowl
Centered studio photograph of a set of stainless steel measuring spoons on a pale neutral background.Measuring Spoons
Centered stainless-steel fork on a neutral light-gray background.Fork
Centered studio photograph of a plain roll of transparent plastic wrap on a light neutral background.Plastic wrap
Tray for chilling

Mix the 8 tablespoons softened butter with the garlic, parsley, and 1/4 teaspoon salt. Divide into four equal portions. Shape each portion into a compact, approximately 3-inch-long baton and wrap in plastic wrap. Freeze for 20 minutes, until firm enough to handle without bending.

3

Butterfly and pound the chicken

Centered studio photograph of a set of stainless steel measuring spoons on a pale neutral background.Measuring Spoons
Centered studio photograph of a complete kitchen knife with a steel blade and dark handle on a light neutral background.Knife
Centered studio photograph of a plain roll of transparent plastic wrap on a light neutral background.Plastic wrap
A centered stack of three plain rectangular cutting boards on a light neutral background.Cutting boards
Smooth-faced meat mallet

Meanwhile, butterfly each chicken breast: slice horizontally through its thick side, stopping before cutting through the opposite edge, then open it like a book. Place between sheets of plastic wrap and gently pound with the smooth face of the mallet to an even 1/4-inch thickness. Work gradually toward the edges without tearing the meat. Season all four breasts with the allocated 3/4 teaspoon salt and 1/4 teaspoon pepper.

Keep raw chicken and its utensils separate from ready-to-eat food; wash and sanitize after handling.

4

Enclose the butter and chill

Centered studio photograph of a plain roll of transparent plastic wrap on a light neutral background.Plastic wrap
Tray for chilling

Place a breast with a short edge facing you. Unwrap one butter baton and set it crosswise about 1 1/2 inches from that edge. Fold the sides inward over the ends of the butter, fold the nearest edge over it, and roll tightly away from you. Keep the ends tucked in and overlap the final seam generously so the butter is completely enclosed. Repeat with the remaining breasts. Wrap each parcel tightly in fresh plastic wrap and refrigerate seam-side down for 30 minutes.

Keep the raw chicken parcels cold and refrigerate them promptly.

5

Prepare the potatoes and oven

Centered nested set of four clear measuring cups with handles on a neutral light background.Measuring Cups
Centered studio photograph of a set of stainless steel measuring spoons on a pale neutral background.Measuring Spoons
Centered studio photograph of a complete kitchen knife with a steel blade and dark handle on a light neutral background.Knife
Centered studio photograph of a single vegetable peeler on a neutral light background.Vegetable peeler
A centered stack of three plain rectangular cutting boards on a light neutral background.Cutting boards
Centered 4-quart stainless-steel saucepan with fitted lid and long handle on a neutral light background.4-quart saucepan with lid

During this chilling period, clean the work surface and utensils used for raw chicken. Peel the potatoes and cut them into 1-inch pieces. Put them in the 4-quart saucepan with 8 cups water and 1 teaspoon salt; leave the heat off for now. Heat the oven to 400°F (200°C), with a rack in the middle, and set the oven-safe rack on the baking sheet.

Clean and sanitize surfaces and utensils used for raw chicken before preparing the potatoes.

6

Double-bread and chill the chicken

Centered nested set of four clear measuring cups with handles on a neutral light background.Measuring Cups
Centered studio photograph of a plain roll of transparent plastic wrap on a light neutral background.Plastic wrap
Tray for chilling
3 shallow breading dishes

Put the flour, beaten eggs, and breadcrumbs in separate shallow dishes. Unwrap the chicken and check every seam; refold any loose edge so no butter is exposed. Coat each parcel lightly with flour, shaking off excess, then dip in egg and coat with breadcrumbs. Dip once more in egg and breadcrumbs, pressing gently around the seams and ends. Place on the chilling tray and refrigerate for 15 minutes. Discard the unused breading ingredients that have contacted raw chicken.

Discard breading that has contacted raw chicken; keep it away from cooked sides.

7

Heat the oil and simmer the potatoes

Centered nested set of four clear measuring cups with handles on a neutral light background.Measuring Cups
Centered 4-quart stainless-steel saucepan with fitted lid and long handle on a neutral light background.4-quart saucepan with lid
12-inch deep, heavy skillet
Oil thermometer

Near the end of the chilling period, heat the canola oil in the skillet over medium heat to 350°F. Bring the potatoes and their water to a boil, then reduce the heat and simmer for 15–20 minutes, until the pieces break easily when pressed with a fork.

Monitor the heating oil with the thermometer; hot oil can cause burns.

8

Fry the chicken until golden

Centered pair of stainless-steel kitchen tongs on a light neutral background.Tongs
12-inch deep, heavy skillet
Oil thermometer
Rimmed baking sheet with oven-safe rack

Carefully lower two chicken parcels into the oil, seam-side down. Fry for 6–8 minutes per batch, turning gently with tongs until golden on all sides. Maintain the oil between 325°F and 350°F, adjusting the heat as necessary. Transfer each browned parcel to the prepared baking rack, seam-side down, and repeat with the remaining chicken. Do not pierce the parcels while turning them.

Lower the parcels gently to reduce hot-oil splashes.

9

Bake to a safe internal temperature

Unbranded instant-read food thermometer with a stainless-steel probe and dark handle, centered on a neutral light background.Instant-read food thermometer
Rimmed baking sheet with oven-safe rack

Once all four parcels are browned, transfer the baking sheet to the oven. Bake for approximately 18–25 minutes, until each portion reaches 165°F (74°C). Insert the thermometer from the side into the thickest chicken portion, keeping the tip in the meat rather than the butter cavity. Check each parcel individually; browning alone does not establish doneness. ([foodsafety.gov](https://www.foodsafety.gov/food-safety-charts/safe-minimum-internal-temperatures))

Check each parcel individually for 165°F in the chicken, not the butter cavity; clean the thermometer before and after use.

10

Mash the potatoes

Centered nested set of four clear measuring cups with handles on a neutral light background.Measuring Cups
Centered studio photograph of a set of stainless steel measuring spoons on a pale neutral background.Measuring Spoons
Centered stainless-steel kitchen colander on a light neutral background.Colander
Centered stainless-steel potato masher photographed against a plain light neutral background.Potato masher
Centered 2-quart stainless-steel saucepan with matching lid on a neutral light background.2-quart saucepan with lid
Centered 4-quart stainless-steel saucepan with fitted lid and long handle on a neutral light background.4-quart saucepan with lid

While the chicken bakes, warm the milk gently in the small saucepan without boiling. Drain the tender potatoes thoroughly, return them to their saucepan, and stir over low heat for 1 minute to evaporate excess moisture. Remove from the heat and mash with 4 tablespoons butter. Gradually work in the warm milk, then add 3/4 teaspoon salt and the remaining 1/4 teaspoon pepper. Cover to keep warm while the chicken finishes.

11

Cook and butter the peas

Centered nested set of four clear measuring cups with handles on a neutral light background.Measuring Cups
Centered studio photograph of a set of stainless steel measuring spoons on a pale neutral background.Measuring Spoons
Centered stainless-steel kitchen colander on a light neutral background.Colander
Centered 2-quart stainless-steel saucepan with matching lid on a neutral light background.2-quart saucepan with lid

During the last 10 minutes of baking, rinse the small saucepan and add the remaining 2 cups water. Bring to a boil, add the frozen peas, and return to a simmer. Cook for 3–5 minutes, until tender and hot throughout. Drain thoroughly, return to the saucepan, and stir in the remaining 2 tablespoons butter and 1/4 teaspoon salt. Cover briefly until serving.

12

Rest and serve

Rimmed baking sheet with oven-safe rack

Rest the cooked chicken uncovered on its rack for 5 minutes. Divide the mash and peas equally among four plates and place one whole chicken Kyiv on each. Serve immediately, taking care when cutting into the hot butter filling.

The butter filling will be very hot; cut carefully to avoid burns.

13

How did it turn out?

Rating and review tools are unavailable right now.

Recipe facts

Cuisine
Ukrainian-inspired

Make a bundle with Chicken Kyiv with Mash and Peas

Add meals that share its groceries.