Butternut and Black Bean Quesadillas

Servings: 4 · Prep: 20 min · Cook: 60 min · Total: 80 min

Ingredients

  • 1 pound Butternut squash
  • 3 cups Canned black beans
  • 8 each Vegetarian flour tortillas
  • 6 ounces Sharp cheddar cheese
  • 1 1/2 teaspoons Ground cumin
  • 4 each Green onions
  • 3 tablespoons Olive oil
  • 1/2 teaspoon Fine salt
  • 1/4 teaspoon Ground black pepper

Equipment

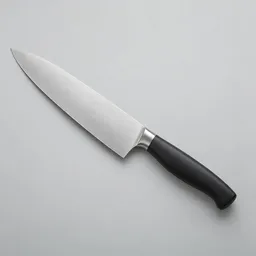
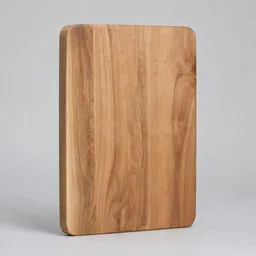
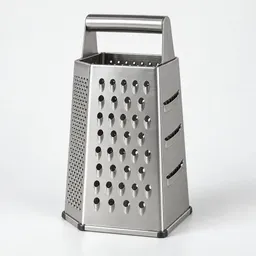
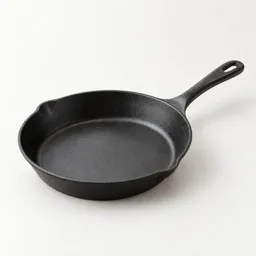
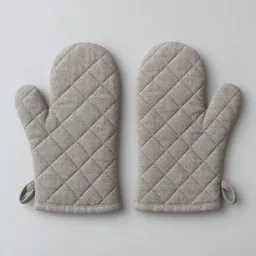
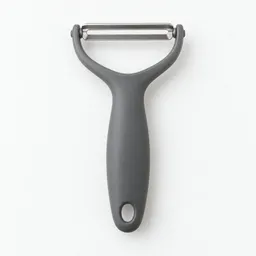
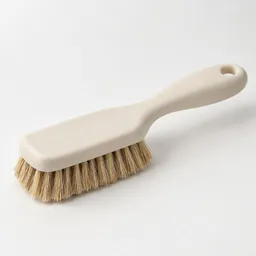
Oven; Mixing Bowl; Spatula; Baking Sheet; Measuring Cups; Measuring Spoons; Knife; Cutting Board; Colander; Box grater; Skillet; Fork; Oven mitts; Mixing spoon; Vegetable peeler; produce brush; oven; mixing bowl; spatula; baking sheet; measuring cups; measuring spoons; knife; cutting board; colander; box grater; skillet; fork; oven mitts; mixing spoon; vegetable peeler

Steps

  1. Prepare the vegetables, beans and cheese. Heat the oven to 425°F. Wash your hands and clean the preparation surface. Scrub the squash under running water before peeling and cutting it; rinse the green onions, remove any damaged areas and dry both vegetables. Prepare the squash cubes and slice the onions. Drain and rinse the beans, let them drain thoroughly, then blot away excess moisture. Shred the cheddar.
    • 1 pound butternut squash — peeled, seeded and cut into 1/2-inch cubes
    • 4 Each green onions — trimmed and thinly sliced
    • 3 cups black beans — drained, rinsed and dried well
    • 6 ounces cheddar cheese — shredded

    Use a stable cutting board and take care when peeling and cutting the firm squash.

  2. Roast the squash. Place the squash on the baking sheet and toss with 1 tablespoon olive oil, the salt and black pepper. Spread into a single layer. Roast for 25–30 minutes, turning halfway through, until tender and browned at the edges.
    • 1 pound butternut squash — peeled, seeded and cut into 1/2-inch cubes
    • 1 tablespoon olive oil
    • 1/2 teaspoon salt
    • 1/4 teaspoon Ground Black Pepper

    Use oven mitts when handling the hot baking sheet.

  3. Mix the filling. Put the beans in the mixing bowl and mash about one-third of them with a fork, leaving the rest whole. Add the warm roasted squash, cumin and green onions. Fold together gently, lightly crushing some squash to help the filling hold together. Let stand for 5 minutes so excess steam can escape. Reduce the oven temperature to 200°F.
    • 3 cups black beans — drained, rinsed and dried well
    • 1 1/2 teaspoons cumin
    • 4 Each green onions — trimmed and thinly sliced

    Take care when adding the warm roasted squash to the filling.

  4. Fill and fold the tortillas. Divide the filling into eight equal portions. Lay out the tortillas and distribute half the cheese evenly over one half of each tortilla. Spread one portion of filling over the cheese on each, leaving a 1/2-inch border. Divide the remaining cheese evenly among all eight tortillas, sprinkling it over the filling. Fold each tortilla closed and press gently.
    • 8 Each flour tortillas
    • 6 ounces cheddar cheese — shredded

    Handle the warm filling carefully; it may still be hot.

  5. Crisp the first batch. Heat the skillet over medium-low heat. Add 1 1/2 teaspoons of the remaining olive oil and swirl to coat. Place two folded quesadillas in the skillet without overlapping. Cook for 3–4 minutes per side, turning carefully with the spatula, until golden and crisp and the cheese has melted. Lower the heat if the tortillas brown before the cheese melts.
    • 1 1/2 teaspoons olive oil

    Turn the quesadillas carefully with the spatula; the filling will be hot.

  6. Keep warm and cook the remaining batches. Transfer the cooked quesadillas to the emptied baking sheet and keep them uncovered in the 200°F oven. Repeat with the remaining quesadillas in three more batches, using 1 1/2 teaspoons olive oil for each batch.
    • 1 1/2 tablespoons olive oil

    Use oven mitts when handling the baking sheet, and take care when turning the hot quesadillas.

  7. Cut and serve. Let the quesadillas rest for 1–2 minutes before cutting each into two wedges. Serve two folded quesadillas, four wedges total, per person.

    Use care when cutting the quesadillas; the filling may still be hot.

Notes

Well-drained beans and browned, dry-surfaced squash keep the tortillas crisp. Avoid covering cooked quesadillas while keeping them warm, since trapped steam softens them.

For make-ahead preparation, refrigerate the cooked squash-and-bean filling separately from the tortillas and cheese. Warm the filling before assembling so the cheese melts without overbrowning the tortillas.

Cooking safety

Use oven mitts when handling the baking sheet, and take care when turning the quesadillas because the filling will be hot.

Refrigerate leftovers in sealed containers within 2 hours of cooking, within 1 hour if the surrounding temperature is above 90°F. Keep at 40°F or below and use within 3–4 days.

Reheat leftovers to 165°F in the center before serving.

https://plumtally.com/recipes/butternut-and-black-bean-quesadillas-rk6n7j089hvj
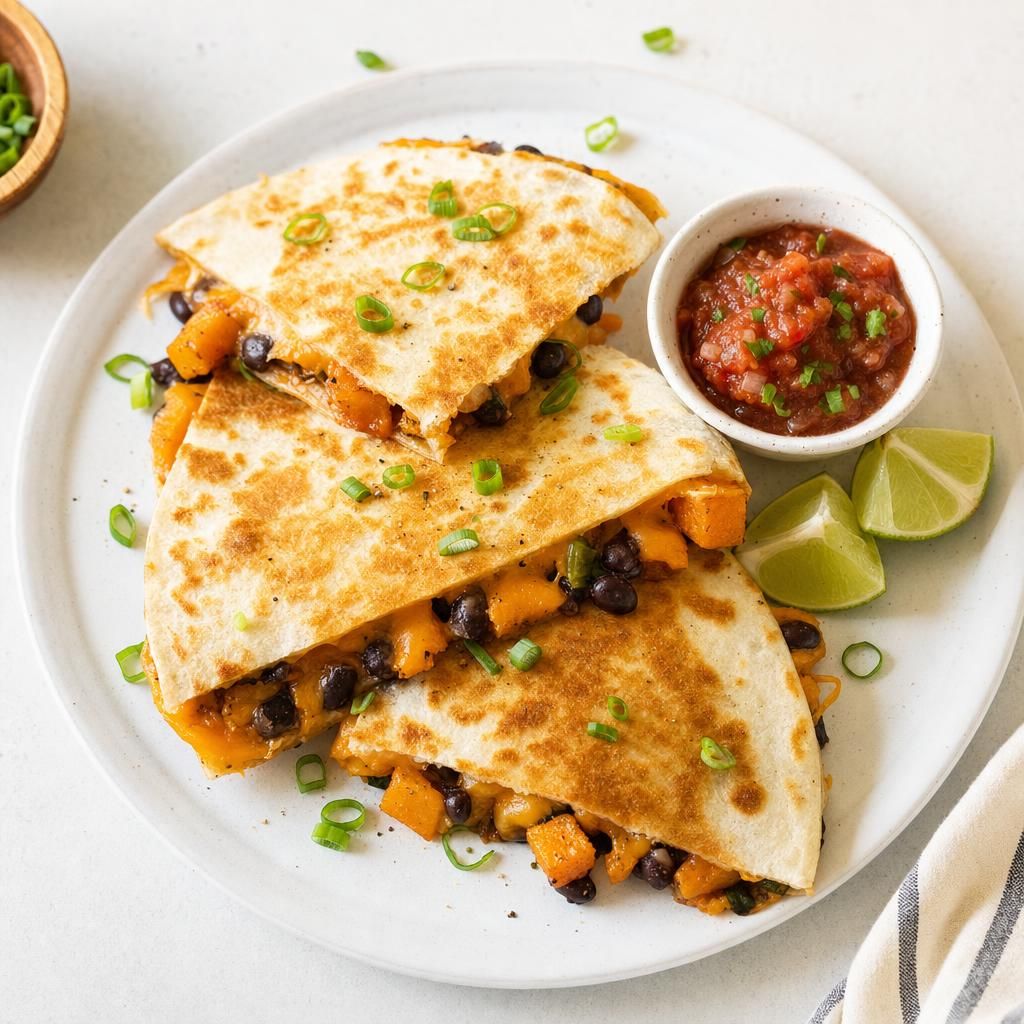
Skillet-crisped flour tortillas filled with roasted butternut squash, black beans, sharp cheddar, cumin and green onions. The sweet squash and savory beans make a satisfying vegetarian lunch or dinner.

  • autumn
  • black beans
  • butternut squash
  • dinner
  • lunch
  • mexican cuisine
  • plant-based
  • quesadillas
  • skillet meal
  • Vegetarian
  • vegetarian main course

$10.86

Per Serving

$2.72

Prep

20 min

Cook

60 min

Difficulty

medium

Ingredients and shopping

Servings

$25.61

8 to buy · 1 you have

42% used in this recipe$14.75 unused

Steps

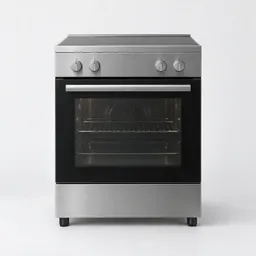
Centered freestanding kitchen oven photographed against a neutral light background.Oven
Centered stainless steel mixing bowl on a neutral light background.Mixing Bowl
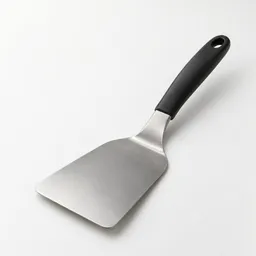
Realistic studio photograph of a plain black-handled stainless-steel kitchen spatula centered on a neutral light background.Spatula
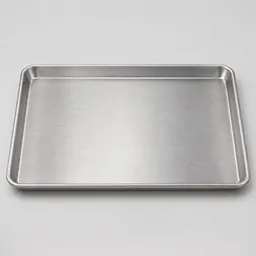
Centered studio photograph of a plain rectangular aluminum baking sheet on a light neutral background.Baking Sheet
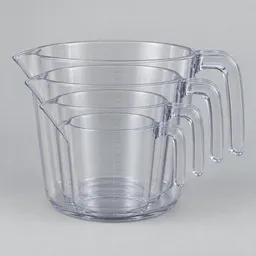
Centered nested set of four clear measuring cups with handles on a neutral light background.Measuring Cups
Centered studio photograph of a set of stainless steel measuring spoons on a pale neutral background.Measuring Spoons
Centered studio photograph of a complete kitchen knife with a steel blade and dark handle on a light neutral background.Knife
Centered rectangular wooden cutting board photographed against a plain light background.Cutting Board
Centered stainless-steel kitchen colander on a light neutral background.Colander
Centered stainless-steel box grater photographed upright on a neutral light background.Box grater
Centered studio photograph of a single dark metal skillet on a neutral light background.Skillet
Centered stainless-steel fork on a neutral light-gray background.Fork
A centered pair of quilted gray oven mitts on a light neutral background.Oven mitts
A single light wooden mixing spoon centered on a neutral light background.Mixing spoon
Centered studio photograph of a single vegetable peeler on a neutral light background.Vegetable peeler
A single unbranded produce brush with a light handle and dense bristles, centered on a neutral light background.produce brush
1

Prepare the vegetables, beans and cheese

Centered freestanding kitchen oven photographed against a neutral light background.Oven
Centered nested set of four clear measuring cups with handles on a neutral light background.Measuring Cups
Centered studio photograph of a complete kitchen knife with a steel blade and dark handle on a light neutral background.Knife
Centered rectangular wooden cutting board photographed against a plain light background.Cutting Board
Centered stainless-steel kitchen colander on a light neutral background.Colander
Centered stainless-steel box grater photographed upright on a neutral light background.Box grater
Centered studio photograph of a single vegetable peeler on a neutral light background.Vegetable peeler
A single unbranded produce brush with a light handle and dense bristles, centered on a neutral light background.produce brush

Heat the oven to 425°F. Wash your hands and clean the preparation surface. Scrub the squash under running water before peeling and cutting it; rinse the green onions, remove any damaged areas and dry both vegetables. Prepare the squash cubes and slice the onions. Drain and rinse the beans, let them drain thoroughly, then blot away excess moisture. Shred the cheddar.

Use a stable cutting board and take care when peeling and cutting the firm squash.

2

Roast the squash

Centered freestanding kitchen oven photographed against a neutral light background.Oven
Realistic studio photograph of a plain black-handled stainless-steel kitchen spatula centered on a neutral light background.Spatula
Centered studio photograph of a plain rectangular aluminum baking sheet on a light neutral background.Baking Sheet
Centered studio photograph of a set of stainless steel measuring spoons on a pale neutral background.Measuring Spoons
A centered pair of quilted gray oven mitts on a light neutral background.Oven mitts

Place the squash on the baking sheet and toss with 1 tablespoon olive oil, the salt and black pepper. Spread into a single layer. Roast for 25–30 minutes, turning halfway through, until tender and browned at the edges.

Use oven mitts when handling the hot baking sheet.

3

Mix the filling

Centered freestanding kitchen oven photographed against a neutral light background.Oven
Centered stainless steel mixing bowl on a neutral light background.Mixing Bowl
Centered studio photograph of a set of stainless steel measuring spoons on a pale neutral background.Measuring Spoons
Centered stainless-steel fork on a neutral light-gray background.Fork
A single light wooden mixing spoon centered on a neutral light background.Mixing spoon

Put the beans in the mixing bowl and mash about one-third of them with a fork, leaving the rest whole. Add the warm roasted squash, cumin and green onions. Fold together gently, lightly crushing some squash to help the filling hold together. Let stand for 5 minutes so excess steam can escape. Reduce the oven temperature to 200°F.

Take care when adding the warm roasted squash to the filling.

4

Fill and fold the tortillas

A single light wooden mixing spoon centered on a neutral light background.Mixing spoon

Divide the filling into eight equal portions. Lay out the tortillas and distribute half the cheese evenly over one half of each tortilla. Spread one portion of filling over the cheese on each, leaving a 1/2-inch border. Divide the remaining cheese evenly among all eight tortillas, sprinkling it over the filling. Fold each tortilla closed and press gently.

Handle the warm filling carefully; it may still be hot.

5

Crisp the first batch

Realistic studio photograph of a plain black-handled stainless-steel kitchen spatula centered on a neutral light background.Spatula
Centered studio photograph of a set of stainless steel measuring spoons on a pale neutral background.Measuring Spoons
Centered studio photograph of a single dark metal skillet on a neutral light background.Skillet

Heat the skillet over medium-low heat. Add 1 1/2 teaspoons of the remaining olive oil and swirl to coat. Place two folded quesadillas in the skillet without overlapping. Cook for 3–4 minutes per side, turning carefully with the spatula, until golden and crisp and the cheese has melted. Lower the heat if the tortillas brown before the cheese melts.

Turn the quesadillas carefully with the spatula; the filling will be hot.

6

Keep warm and cook the remaining batches

Centered freestanding kitchen oven photographed against a neutral light background.Oven
Realistic studio photograph of a plain black-handled stainless-steel kitchen spatula centered on a neutral light background.Spatula
Centered studio photograph of a plain rectangular aluminum baking sheet on a light neutral background.Baking Sheet
Centered studio photograph of a set of stainless steel measuring spoons on a pale neutral background.Measuring Spoons
Centered studio photograph of a single dark metal skillet on a neutral light background.Skillet
A centered pair of quilted gray oven mitts on a light neutral background.Oven mitts

Transfer the cooked quesadillas to the emptied baking sheet and keep them uncovered in the 200°F oven. Repeat with the remaining quesadillas in three more batches, using 1 1/2 teaspoons olive oil for each batch.

Use oven mitts when handling the baking sheet, and take care when turning the hot quesadillas.

7

Cut and serve

Centered studio photograph of a complete kitchen knife with a steel blade and dark handle on a light neutral background.Knife
Centered rectangular wooden cutting board photographed against a plain light background.Cutting Board

Let the quesadillas rest for 1–2 minutes before cutting each into two wedges. Serve two folded quesadillas, four wedges total, per person.

Use care when cutting the quesadillas; the filling may still be hot.

8

How did it turn out?

Rating and review tools are unavailable right now.

Recipe facts

Cuisine
Mexican-inspired

Part of these meal bundles

Make a bundle with Butternut and Black Bean Quesadillas

Add meals that share its groceries.